Луганская Народная Республика, Зимогорье

СДЕЛАЙТЕ СВОИ УРОКИ ЕЩЁ ЭФФЕКТИВНЕЕ, А ЖИЗНЬ СВОБОДНЕЕ
Благодаря готовым учебным материалам для работы в классе и дистанционно
Скидки до 50 % на комплекты
только до
Готовые ключевые этапы урока всегда будут у вас под рукой
Организационный момент
Проверка знаний
Объяснение материала
Закрепление изученного
Итоги урока
Была в сети 19.06.2025 00:59
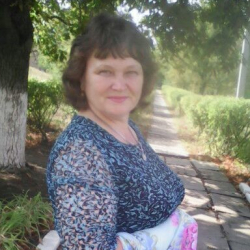
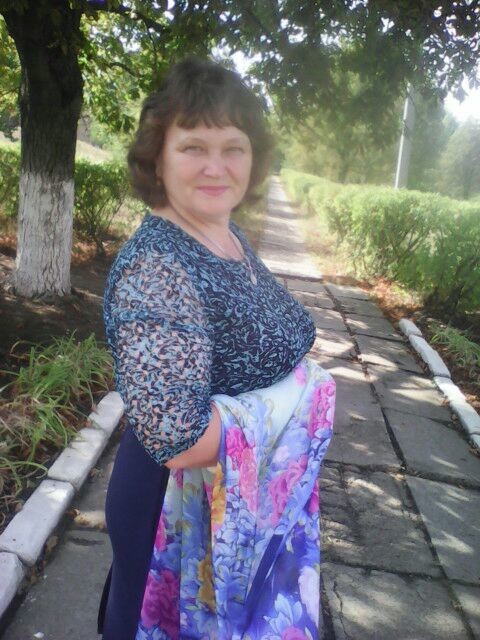
Павленко Ирина Николаевна
Учитель английского языка
58 лет
Местоположение
Специализация
Изготовление 3Д открытки
Категория:
Английский язык
08.06.2023 21:49

Просмотр содержимого документа
«Изготовление 3Д открытки»
3D postcard making (Изготовление 3D открытки)
Duration: 1 hour 20 minutes
Age of students: 9-15 years old
Vocabulary: event, party, present, decorating, trip, design, glue, hand-made, print
Materials: coloured cardboard, coloured paper, ribbons, ruler, scissors, glue, brushes, tablecloth
Lesson plan
1. Prepare the classroom for the lesson.
2. Warm-up/ Start the lesson (5 mins)
Welcome the students. Ask if they like giving or having presents and postcards. What holidays do they prepare the postcards for? Do they buy or make postcards?
3. Pre-teach (10-15 mins)
Pre-teach the vocabulary. Tell the history of the postcards and their evolution.
Postcards were introduced to Britain in 1870. They were produced in two sizes and drew heavily on the Hungarian design. Commissioned by the British Post Office, the cards included an imprinted halfpenny stamp that covered the price of postage and were half that of a letter.
What did the world’s first postcard look like? Initially postcards had no images and strict rules dictated where you could write on them.
The first cards were issued by Austria-Hungary in 1869, a proposal by Dr Emanuel Herrmann, though he was not the first to suggest the idea. They were produced in two languages – German and Hungarian – and were extremely popular.
Why should we write postcards?
There are lots of reasons and occasions to give postcards. They are given for birthdays, national holidays, family events.
Here are a few reasons why you should be writing postcards every chance you get!
-it shows you care
- it helps you stand out from the crowd
- it can chronicle your travels
- it lasts a lifetime
- it relieves stress
- you might receive one back
- it looks great on the wall
- it’s the perfect way to thank someone
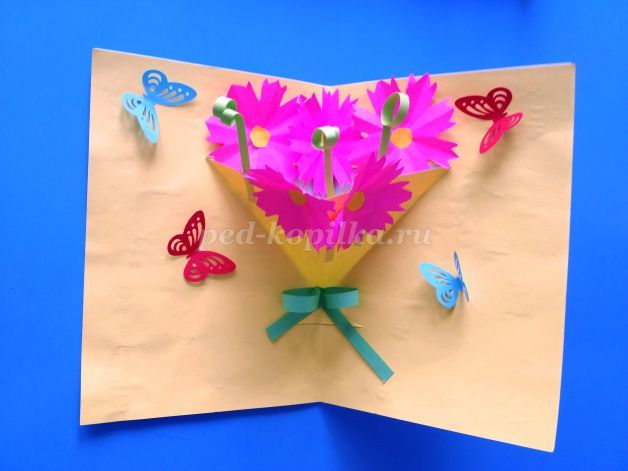
What’s 3D postcard?
3D postcard is a volumetric card, that can be made of several layers and conveys the message about festive days. Here are some examples:


4. 3D postcard making (45 mins)
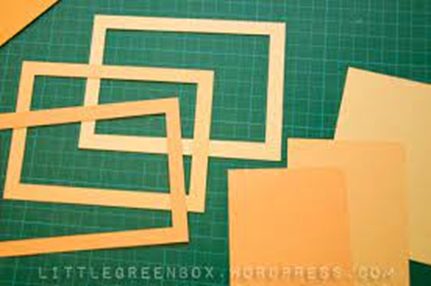
1) Each student is given 4 coloured cardboard sheets.
Make 3 “frames”, the 4th cardboard sheet is going to be the background.
2) Make the “walls”
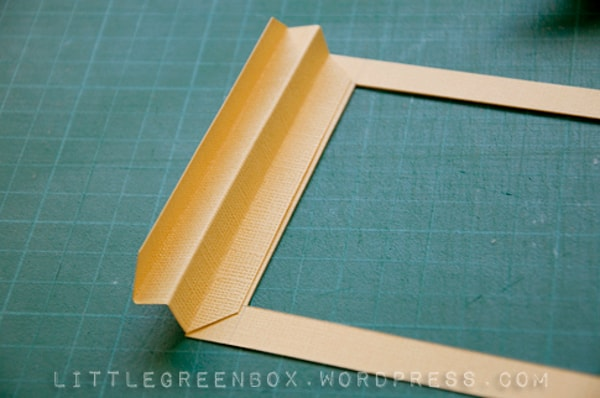
3) Glue two “frames” together with the “wall”

4) Do the same with the other “frames”

5) Cut out the paper flags and decorate the background

6) Make the “presents” of the coloured paper and ribbons and glue on each layer.

5. Ready 3D postcard presentation (10 mins)
Students display their postcards and say who they will give them to.
6. Ending (5 mins)
Taking pictures of students and their 3D postcards.


Вебинар для учителей

Свидетельство об участии БЕСПЛАТНО!

